
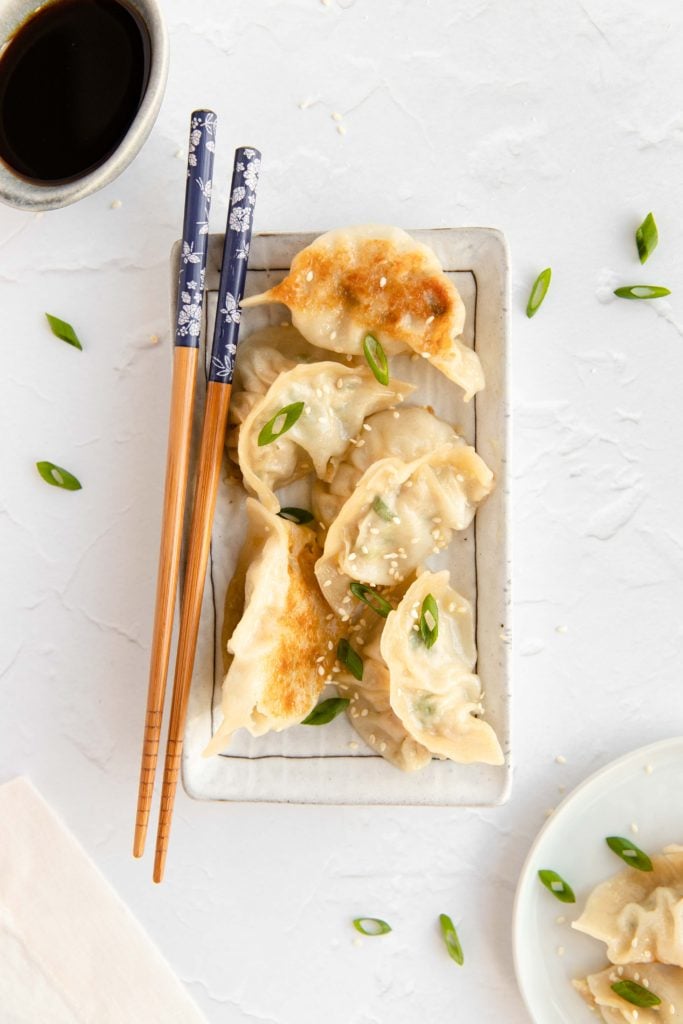
chicken gyoza

chicken gyoza

last updated on October 30, 2026

This Chicken Gyoza is easy to make and requires only 6 ingredients! Gyoza originates in Japan, although gyoza is very similar to Chinese potstickers. The filling can get as complicated as you want, but I like to keep it simple! Plus, this simple filling is still packed with flavor.

You can make the gyoza wrappers from scratch, but I like to save time and buy pre-made wrappers at the store! This cuts down the prep time and they still taste delicious. You can find gyoza wrappers at any Asian market. They are kept in the fridge section and are round and usually about 3 inches wide.

This recipe makes about 40 dumplings, so there are plenty to feed everyone! Or, if you are feeding less people, you can store these in the freezer! Once you’ve folded the gyoza up, add the one’s you are not going to eat to a freezer safe container and save them for later! Next time you eat them, just add a few minutes onto the cook time since you’ll be eating them from frozen.

There are many ways you can fold gyoza to seal them, but this is the most traditional way. I’ve added a video here to show the process of making these gyoza, including how I fold them.

As always, if you have any questions, please reach out. And if you try these gyoza, tag me @thepalatablelife — I’d love to see your creations!

Chicken Gyoza

5 from 2 votes
[category]
[published] March 24, 2021
[PREP] 30 minutes
[COOK] 10 minutes

Ingredients

  • 1 package gyoza / dumpling wrappers about 40
  • 1 pound ground chicken or pork
  • 1 cup cabbage finely chopped
  • 1/3 cup green onions chopped
  • 2 tbsp sesame oil
  • 1 tbsp ginger grated

Instructions

  1. Combine the ground chicken, cabbage, green onions, sesame oil, and ginger in a bowl. Mix until everything is evenly distributed.
  2. Fill a small bowl with water. Dip your finger in the water and wet the outside of one gyoza wrapper. Scoop about 1 tbsp of the meat mixture onto the wrapper.
  3. Starting on the right side, pinch a small section of the wrapper together. Fold the top layer over on itself, pressing it down and sealing it with the bottom layer (watch my video above for a visual). Continue until the entire wrapper is folded and sealed. Continue until the meat is all used.
  4. Add several dumplings to a large pan with oil over medium high heat. Let them cook for 2-3 minutes until the bottom of each is starting to brown. When they are golden brown, turn the heat down to medium low and add 1/4 cup of water.
  5. Put a lid on the pan and let the dumplings cook for 7-8 minutes, until the meat is cooked through. Check the dumplings half way through the cooking time. If the water has all cooked up, add a few tablespoons more.
  6. Once the gyoza are finished, enjoy them while they are hot!
What’d you think? I’d love to hear your thoughts or if you have any questions!

Rating


Your email address will not be published. Required fields are marked *

  1. Maddison Evans
    Reply

    5 stars
    This was so delicious. We will definitely be making these again. Even though I never made them before, the recipe and videos made it very easy to follow.

    1. thepalatablelife
      Reply

      YAY so glad you enjoyed these!! And so glad the recipe was easy to follow!

  2. Maddison Evans
    Reply

    5 stars
    This was so delicious. We will definitely be making these again. Even though I never made them before, the recipe and videos made it very easy to follow.

    1. thepalatablelife
      Reply

      YAY so glad you enjoyed these!! And so glad the recipe was easy to follow!

  3. Amanda
    Reply

    5 stars
    I tried these tonight and they were absolutely delicious! I made my own sauce for dipping, and all together it was a great meal. Thanks so much for the easy instructions.

    1. thepalatablelife
      Reply

      Yay, so glad you enjoyed these!

  4. Amanda
    Reply

    5 stars
    I tried these tonight and they were absolutely delicious! I made my own sauce for dipping, and all together it was a great meal. Thanks so much for the easy instructions.

    1. thepalatablelife
      Reply

      Yay, so glad you enjoyed these!

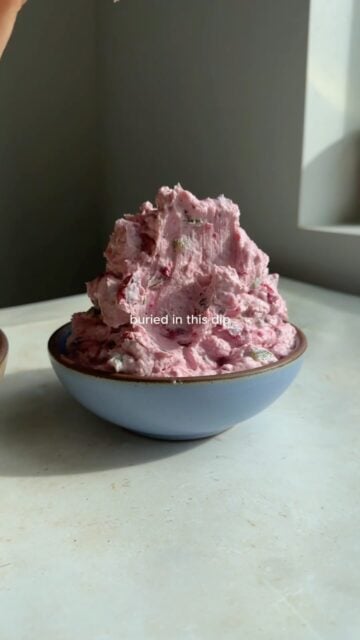
  • day 1: creamy cranberry jalapeño dip!!

we’re back with another year of my 12 days of thanksgiving recipes 🧑‍🩰🦃 and have to get started early to fit in all 12 recipes! starting off very strong with this creamy dip. it’s a little spicy, a little sweet, and the perfect thanksgiving app.

recipe is on my website, in my bio, or comment “recipe” to have it sent directly to you! and follow along for the other 11 recipes 🌟

#thanksgiving #thanksgivingdinner #thanksgivingappetizer #cranberryjalapeño
  • family of 4 incoming
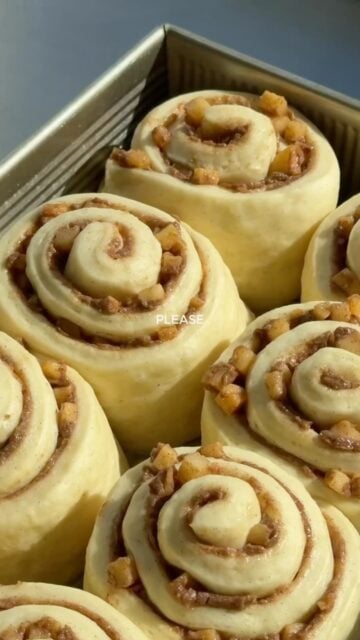
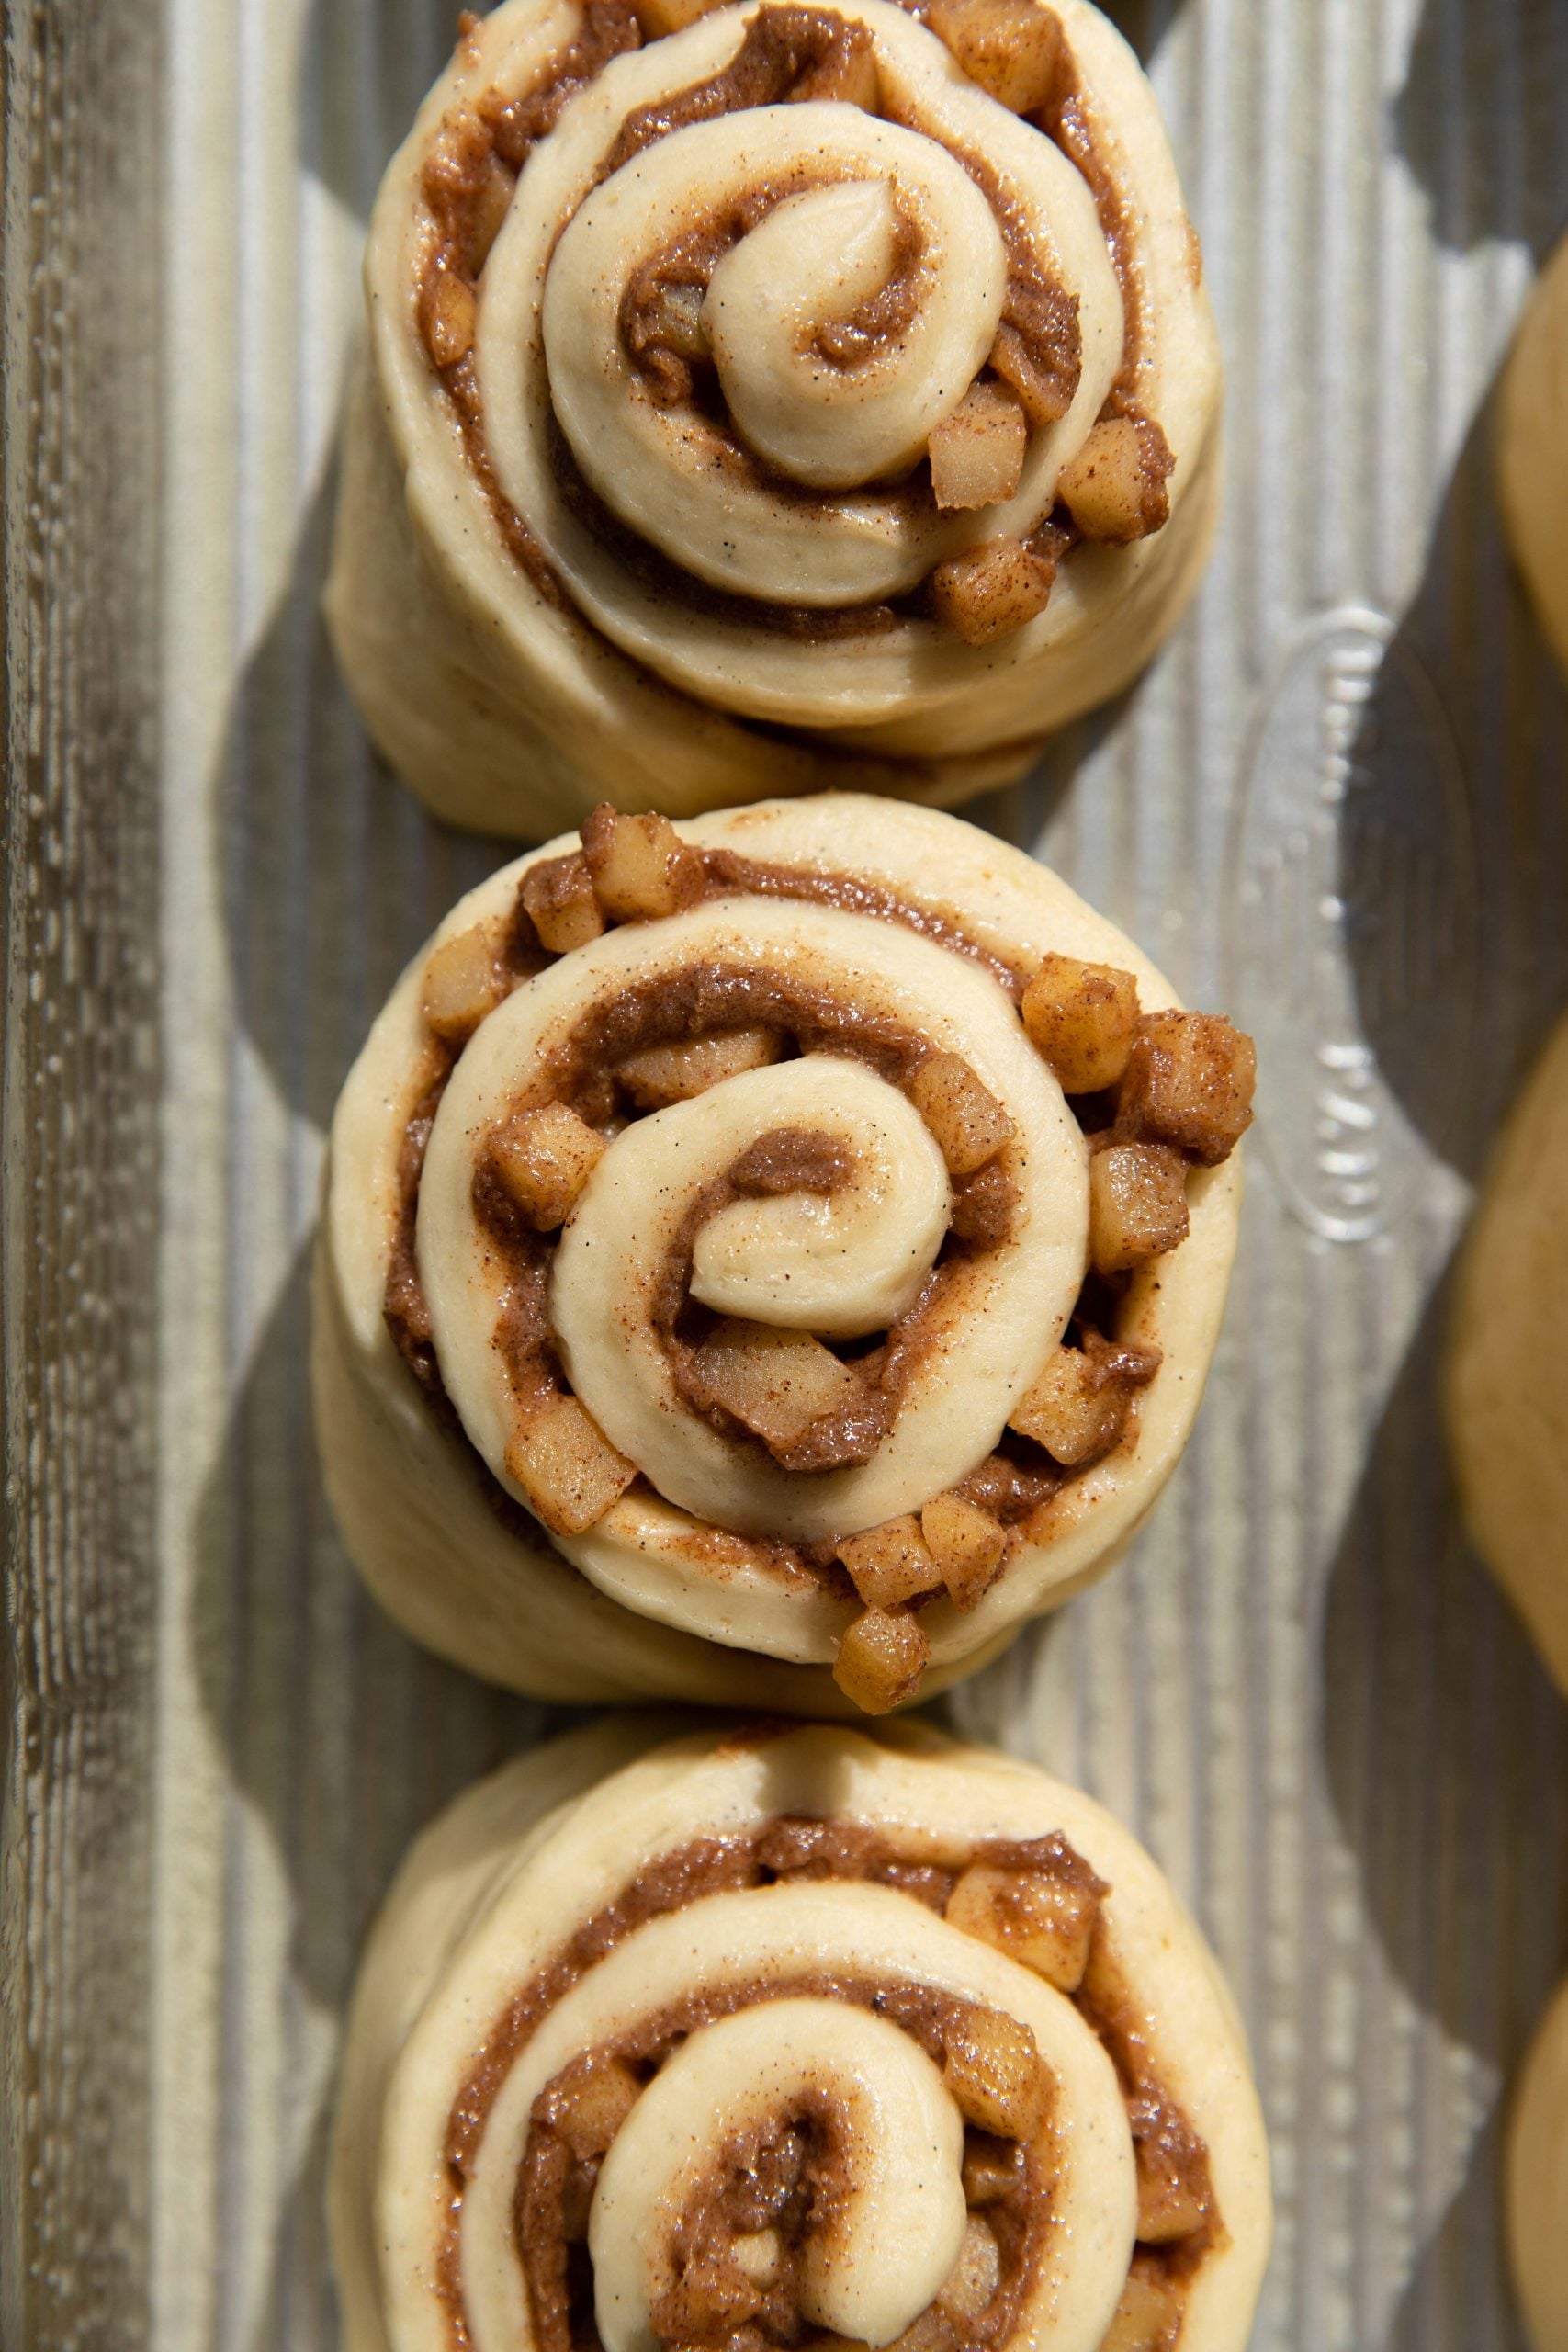
  • apple cinnamon rolls!!

one extra step but it makes these cinnamon rolls soo perfect for fall. i will always be obsessed with cinnamon rolls and these are truly my best version yet 🙂‍↕️ the dough is perfect and they turn out soo pillowy soft.

recipe is on my website, in my bio! or comment “recipe” and i’ll send it right to you 👯‍♀️

#cinnamonrolls #applecinnamonroll #fallbaking #cinnamonroll
  • october neighborhood bakery!!

truly lived up to the cozy theme these were all so perfect for fall 🍁🙂‍↕️💫 apple cinnamon rolls recipe will be up this week!! pumpkin bread recipe is on my website, and oatmeal raisin recipe is from my cookbook, linked in my bio!!

also i wish i could make a million boxes every time to bring to everyone i know 🥲

#neighborhoodbakery #cinnamonrolls #cookierecipe #fallbaking
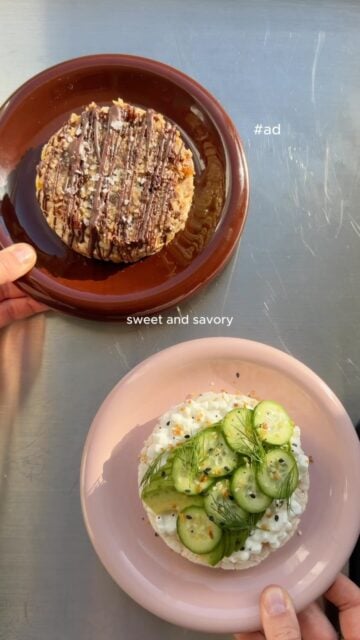
  • #ad sweet and savory rice cakes!

because why choose one when you can have both?? here is the recipe for both:

caramel coconut:
- 1 Quaker® caramel rice cake
- 1 teaspoon hazelnut butter 
- 3 dates 
- 1/4 cup unsweetened shredded coconut 
- 1/4 teaspoon vanilla paste 
- pinch of salt 
- 1/2 teaspoon hot water 
- 2 tablespoons chocolate chips 
- 1/2 teaspoon coconut oil 
- flaky salt
add the dates, coconut, vanilla paste, and salt to a food processor. blend until the dates start to break down, then add the hot water and blend until a paste forms. set aside. place the chocolate chips and coconut oil in a bowl and microwave at 15 second intervals, stirring between each, until melted and smooth. top the Quaker® caramel rice cake with the hazelnut butter, the coconut date mixture, and drizzle with chocolate. top with flaky salt then transfer to the fridge to set up for about 10 minutes. enjoy! 

cottage cheese: 
- 1 Quaker® lightly salted rice cake 
- 1/3 cup cottage cheese 
- 1/4 avocado, thinly sliced 
- 1 mini cucumber, thinly sliced 
- everything but the bagel seasoning 
- fresh dill 
top the Quaker® lightly salted rice cake with the cottage cheese, avocado, cucumber, seasoning, and fresh dill. enjoy!

#ricecake #ricecakesnack #easysnack
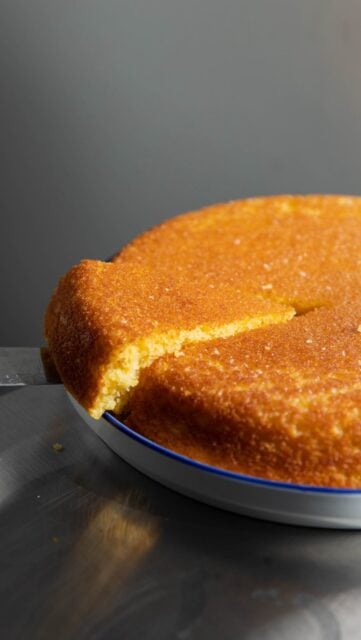
  • the best skillet cornbread!!!

soo perfectly crispy / golden brown, but still soo tender and moist on the inside. and the perfect pairing for soup or truly so good all on its own!!

recipe is on my website, linked in my bio. or you can comment “recipe” and i’ll send it straight to you 🤎

#cornbread #skilletcornbread #fallbaking #soupseason

@malloryoniki